To access your email through Outlook® 2011 for Mac®, add an account with the settings outlined below. While the exact steps might differ from version to version, you can use the settings listed here to set up other versions of Outlook as well.
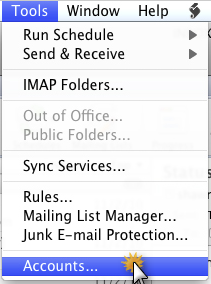
- Click Tools, and then click Accounts.
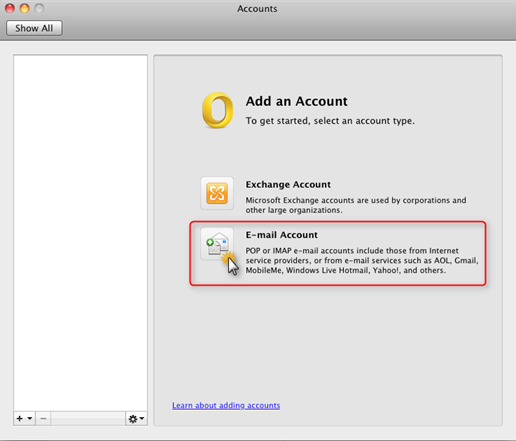
- Click E-mail Account.
-
On the Enter your account information page please entre the below information.
- In the E-mail Address field, enter your full email address.
- In the Password field, enter your email password.
- In the User name field, enter your full email address.
-
Select your server type and enter your Incoming POP or IMAP Server.
This is the information can be found in you cPanel under Mail > Email Accounts > More > Configure Email Client.- Without SSL: mail.yourdomainname.tld (tld means top level domain for example .com.au, .net.au, etc…)
- With SSL: server1.mycloudhost.com.au
- Without SSL: mail.yourdomainname.tld (tld means top level domain for example .com.au, .net.au, etc…)
-
Enter an incoming server port:
- POP3:
without SSL: 110
with SSL: 995 - IMAP:
without SSL: 143
with SSL: 993
- POP3:
- In the E-mail Address field, enter your full email address.
NOTE: Click Override default port to change the default port.
- Select Use SSL to connect if you are using a port with SSL.
-
Select your server type and enter your Outgoing POP or IMAP Server.
This is the information can be found in you cPanel under Mail > Email Accounts > More > Configure Email Client.- Without SSL: mail.yourdomainname.tld (tld means top level domain for example .com.au, .net.au, etc…)
- With SSL: server1.mycloudhost.com.au
- Without SSL: mail.yourdomainname.tld (tld means top level domain for example .com.au, .net.au, etc…)
- Enter an outgoing server port:
Without SSL – one of the following: 25, 587
With SSL - 465
NOTE: Click Override default port to change the default port. This may be needed if port 25 doesn’t work
- Select Use SSL to connect if you are using a port with SSL.
- Click Add Account.

- Click More Options.

- From the Authentication menu, select Use Incoming Server Info.
- Click OK
If you require further help please feel free to contact us at [email protected]
